Overview - Image Watermark Interface
Clicked 'Add Image' button, you will see the following main interface.
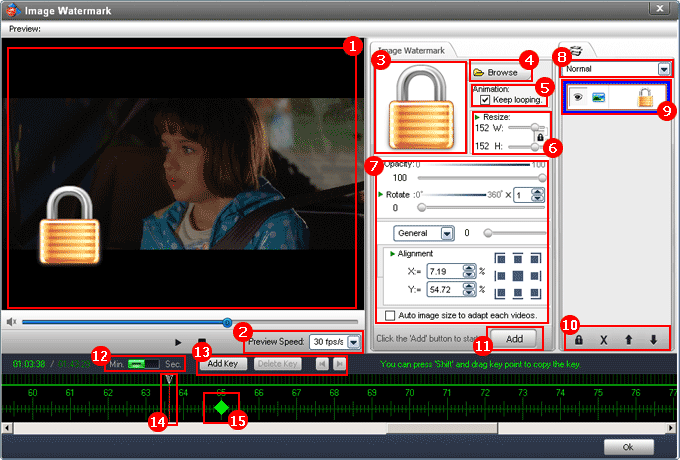

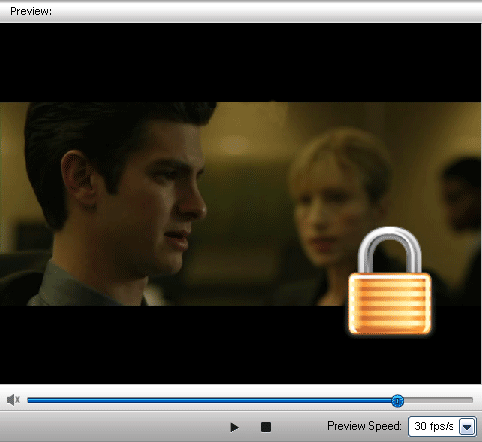
Preview window - You can play, pause your video and watermark effect with this window.

You can select a speed to playing the video, here are 4/8/15/24/25/30 fps/s.
Tip: Most movies speed is 25 fps/s
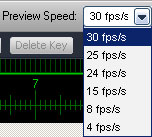

Image watermark thumbnail - you can double-click to open image browser, you can also find many image watermarks at here.


Click the'Browse' button to open image watermark browser,
click here to learn more about image watermark browser.


Animated watermark option - activation this box to keep looping of animated GIF.
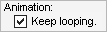

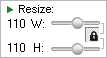
Image watermark resize - you can resize your image watermark with this function.
Tip: Click the 'lock' icon to binding length and width.

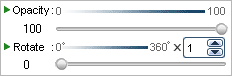
Common settings of image watermark, includes:
7-1, Opacity and Rotate
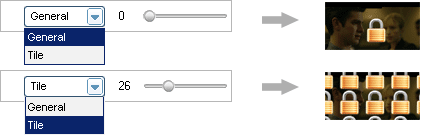
7-2, General means put one watermark, Tile is strong way for copyright protection.
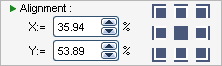
7-3, A shortcut method to align your watermark.
7-4, Activation this box automatically adjust the watermark' size to adapt each video's size.


Layer effect option - the default option is 'Normal', means no effects. If you select another like 'multiply', the watermark and video will be mixed effect.
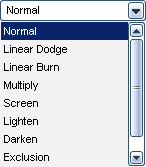
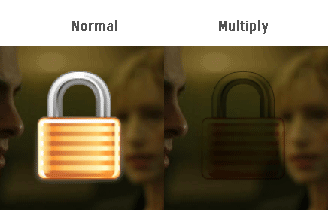

Image watermark layer - the layer like adobe photoshop, all of settings are based on the layer, you can also creating multi-layers to making rich watermarking effects.
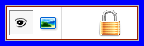
Tip: Click the eye icon to disable current layer.

Buttons of layer

Freeze other layers, at this time, you can only edit current layer.

Delect a selected layer.

Move up selected layer.

Move download selected layer.
 Important
 - the 1st step, click 'Add' button to start watermark setting. You can not make any changes before clicked 'Add' button.


Time line button:

Time point display with minute.

Time point display with second.

Key point button: You can make complex animation with multi key point, such as insert point 1 and make the coordinate to X=100, Y=200, and then, insert point 2 and make the coordinate to X=300, Y=100. At this time, play the video, you can see text of oneself moving from there to here.

Insert a key point

Delete a key point

Previous key point

Next key point

Pointer of time line.


Key point - click 'Add Key' to creating a key point.

 Home
Home